Last Updated on January 6, 2026
How To Make Tequila: A Distiller’s Guide
Learn Step-By-Step How To Make Tequila At Home From Scratch
In this guide, we’re going to walk you through, step-by-step how to make tequila from scratch. We’ll start by covering the background of tequila and the origin of its ingredients. Then we’ll cover the basics of how to create tequila in its simplest form. Finally, we’ll go into more detail on the variety of different methods of aging for achieving a range of different flavors of tequila. All of the supplies you’ll need for distilling your own homemade tequila can be found in our shop. If you’re more of a gin distiller and drinker, then check out our guide on how to make gin.
At Mile Hi Distilling, we love helping people who are passionate about spirits with helpful guides and top-quality moonshine stills and supplies. Learning how to make a great batch of tequila or ‘agave spirit’ requires a lot of attention to detail. So be sure to plan thoroughly and execute carefully to create the best tequila possible. Let’s get started!
***Before we get started. It is illegal to distill spirits at home. This guide is meant as a hypothetical walk-through. Mile Hi Distilling doesn’t condone any illegal or illicit behavior and cannot be held responsible for the actions taken by any individuals not acting within the parameters of the law.***
Browse By Step. Click on any of these links to jump to the step you want to see:
A Short Background on Tequila
Getting Started: Picking Your Tequila Wash Ingredients
How to Make Tequila: Wash Recipe
Fermenting Your Tequila Wash
Distilling Your Tequila
Collecting Your Tequila Distillate
Aging Your Tequila
Conclusion
A Short Background on Tequila
Tequila is a very interesting distilled spirit, that’s made unlike any other, from the agave plant. Specifically, the blue Weber agave (Agave tequilana or A. tequilana) native to western Mexico, is the only agave plant used to create 100% pure tequila. A. tequilana has four varieties altogether. Azul, Azul Listado, Siguin, and Pata De Mula. Out of these, Azul is the only variety that tequila distilleries use to produce tequila. Azul is also the most widely cultivated and best known, simply as ‘blue agave.’
In order to be considered ‘real and pure’ tequila, the spirit must also be produced in one of these five areas in Mexico: Michoacan, Tamaulipas, Guanajuanto, Nayarit, and Jalisco. Out of these five areas, Jalisco is the most famous and where the majority of the world’s tequila is produced.
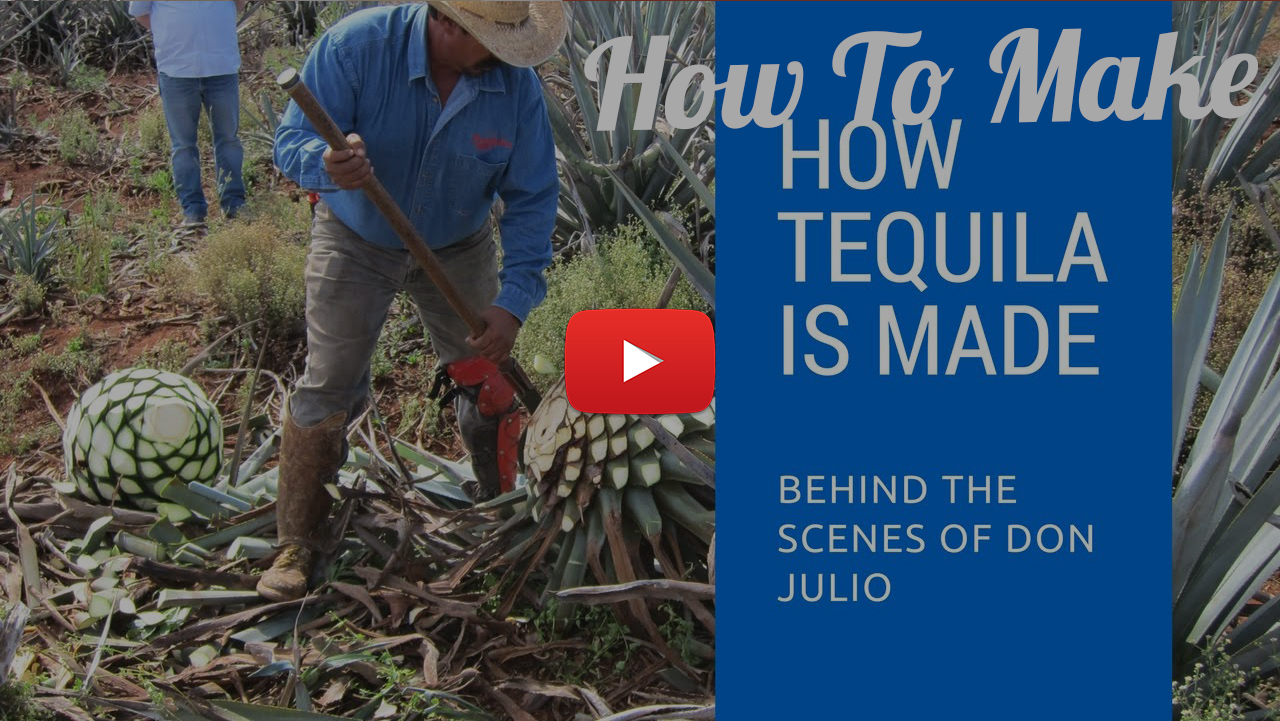
Check out this great video from Geoff Kleinman detailing How Tequila is made. Check it out below!
Tequila vs. Mezcal
Tequila and mezcal are very similar spirits. In fact, technically all tequilas are mezcals, but not all mezcals are tequilas. This is because of the raw ingredients used to create these spirits. Even though they are very similar, there are some key differences between the two. The main distinction between tequila and mezcal are that they each use a different type of Agave plant for the fermentation process and that they are both distilled in separate areas of Mexico. Like we mentioned before, distilling tequila requires the Blue Weber Agave plant, while distilling mezcal can be produced from more than thirty different types of agave, only one of which is the Blue Weber Agave. Most mezcals are produced with the Agave Espadin plant. Similar to tequila only being produced in five regions of Mexico, Mezcals may only be produced in nine designated regions of Mexico. These nine regions are: Durango, Guanajuato, Guerrero, Michoacán, Oaxaca, Puebla, San Luis Potosí, Tamaulipas, and Zacatecas.
Similar to bourbon or rye whiskies, tequila has very specific mash/wash ingredients in order to be classified as pure tequila. Also, in order to be classified as tequila, the spirit must be produced in only five designated areas of Mexico, not unlike all scotches being produced in Scottland. So for the purpose of this guide, unless you reside in one of those regions of Mexico, technically you’ll be making an “Agave spirit” not a tequila or a mezcal.
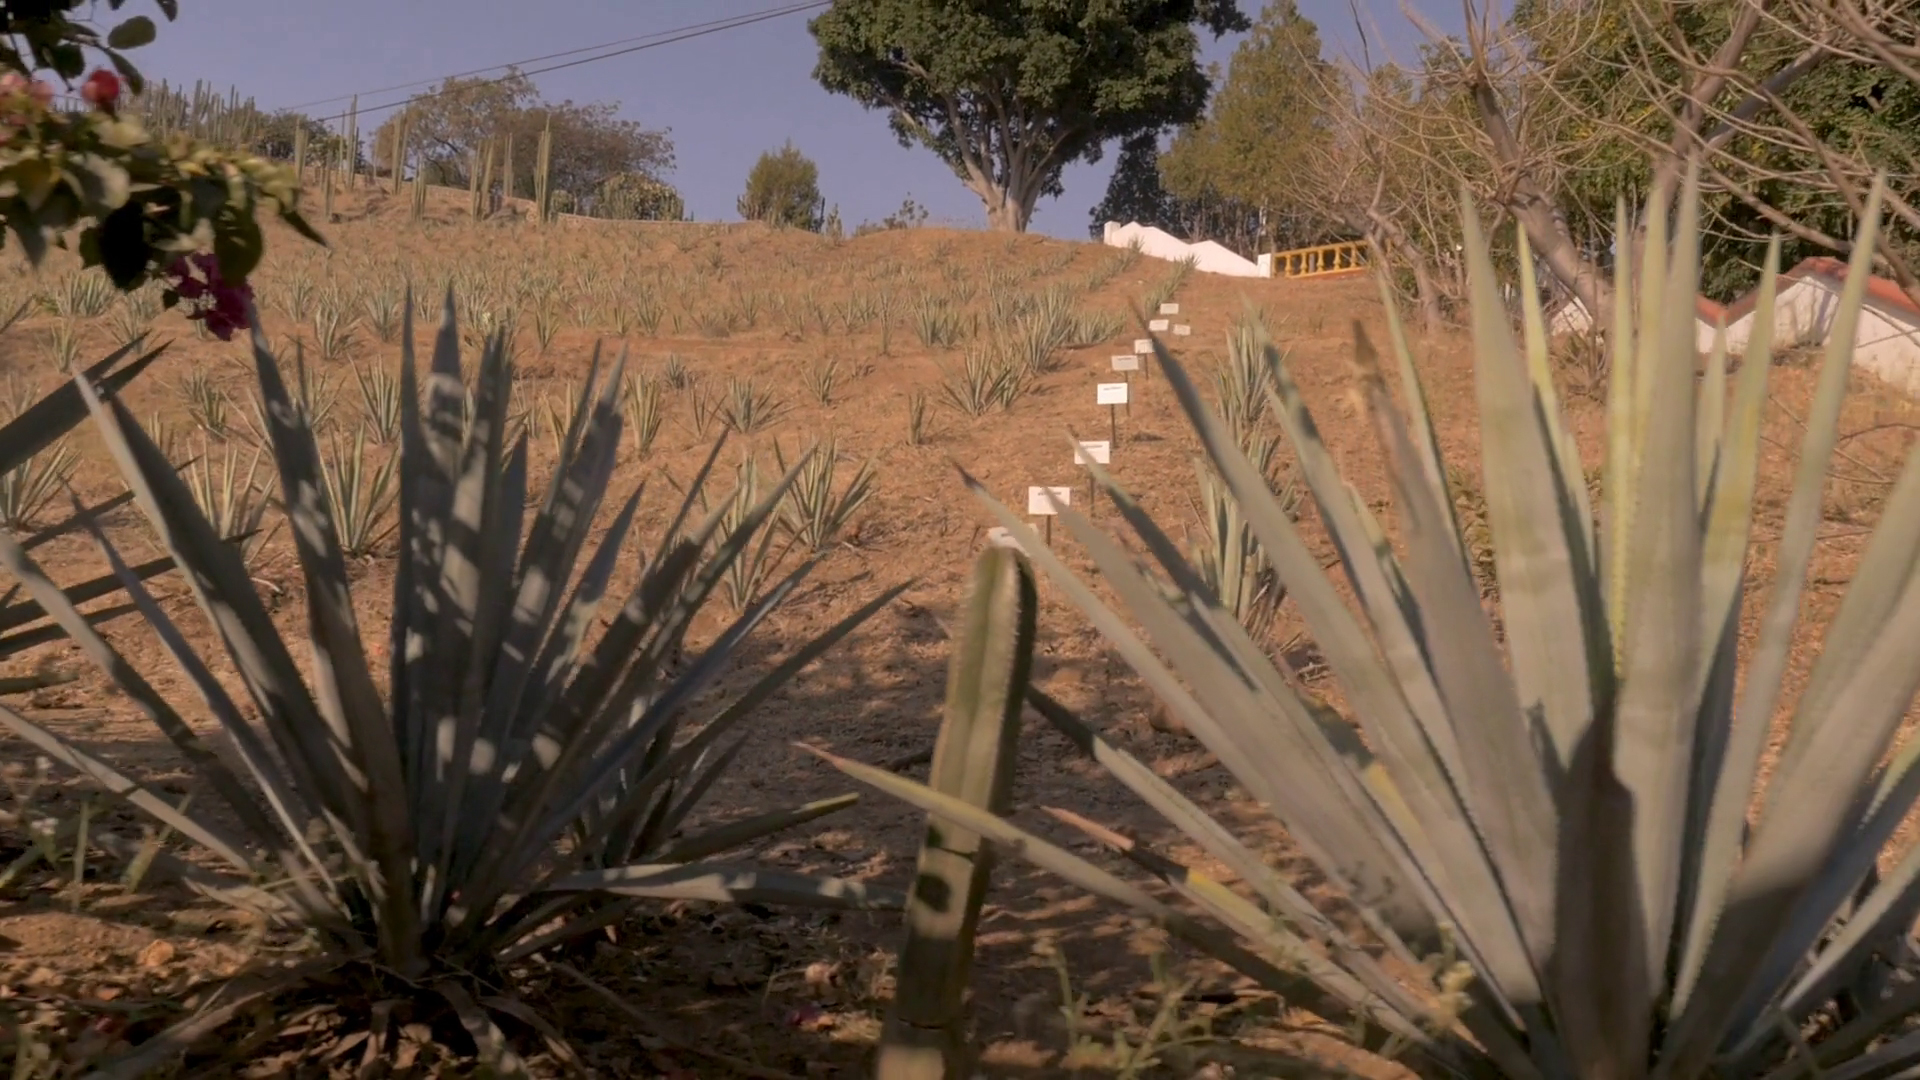
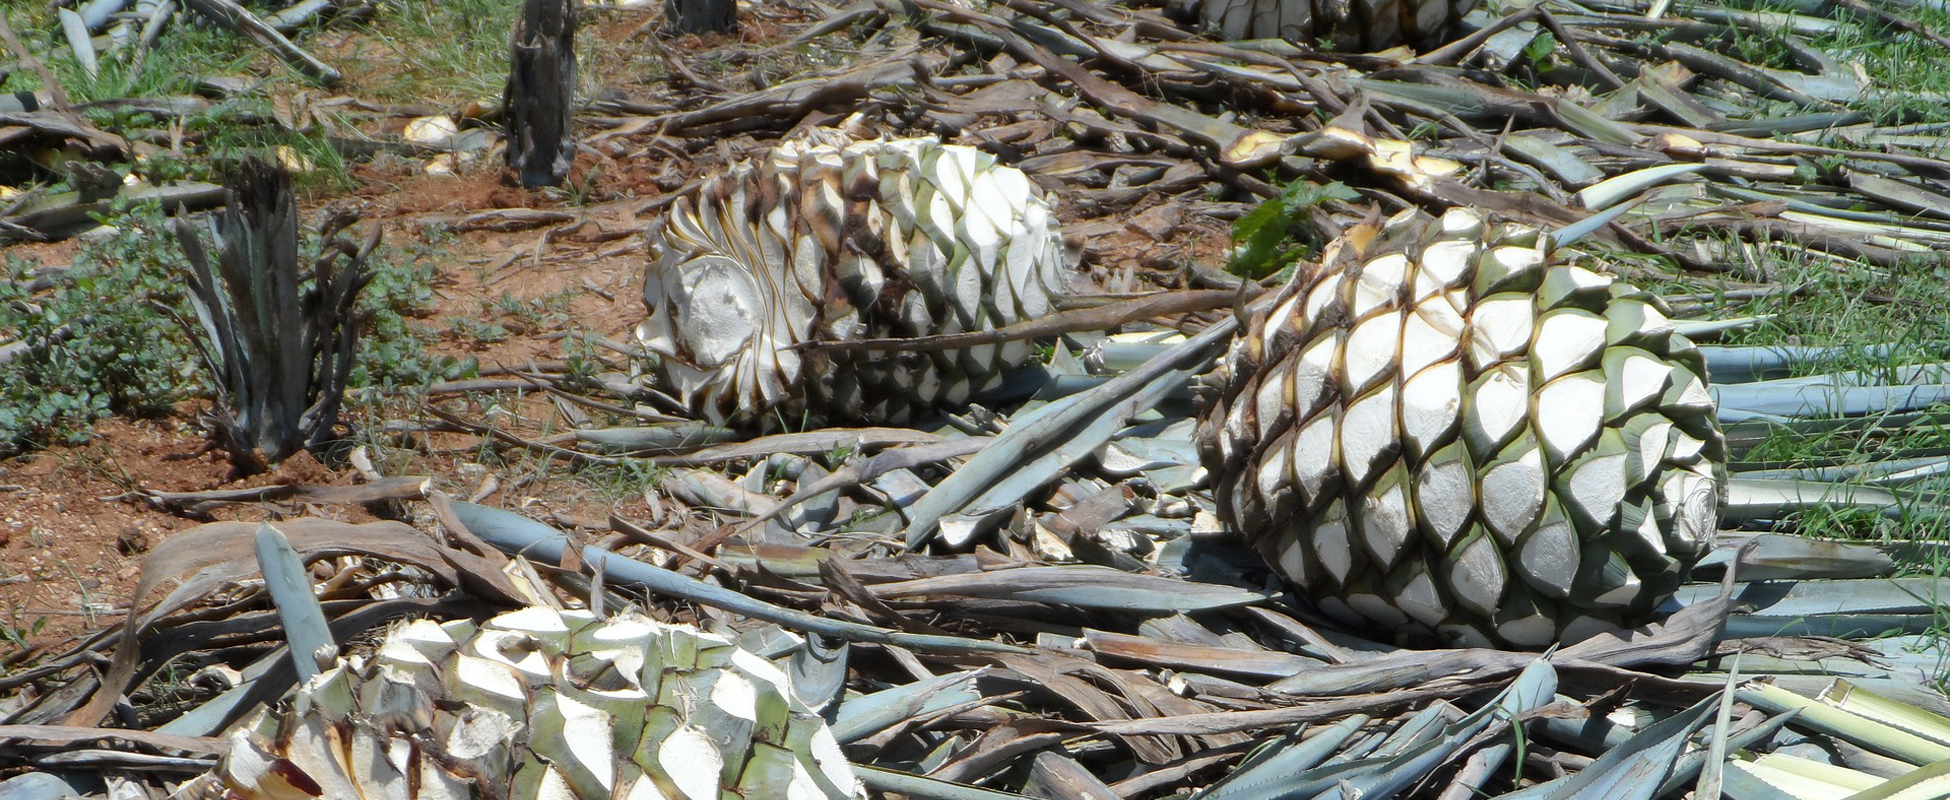
Blue Weber Agave plants grown in Mexico
Getting Started: Picking Your Tequila Wash Ingredients
Like we mentioned before, in order to produce pure tequila, you’ll need to use the Blue Weber Agave plant to create your wash. Fortunately, you can find Blue Agave nectar in most grocery stores or online so you won’t necessarily need to harvest the actual agave plant to create the mash for your fermentation. For the purpose of this guide, we’ll just be using Blue Agave Nectar to cut down on the processing time.
Tequilas are broken down into two main categories. The first is tequilas that are made using 100% agave for their wash/mash. These are known as ‘Puro’ tequilas and they make up the highest-end tequilas such as Patron, Don Julio, Espolon, and other well-known brands. The other category of tequila is known as ‘Mixto’ tequilas. These tequilas are made using at least 51% agave in the fermentation stage of production. The other 49% or less of the fermentable sugars come from other sources besides the agave plant, such as cane sugar. Some examples of popular mixto tequilas are El Jimador, Jose Cuervo Gold and Sauza.
To cut down on the cost of the run, we’ll be creating a mixto agave spirit in this guide.
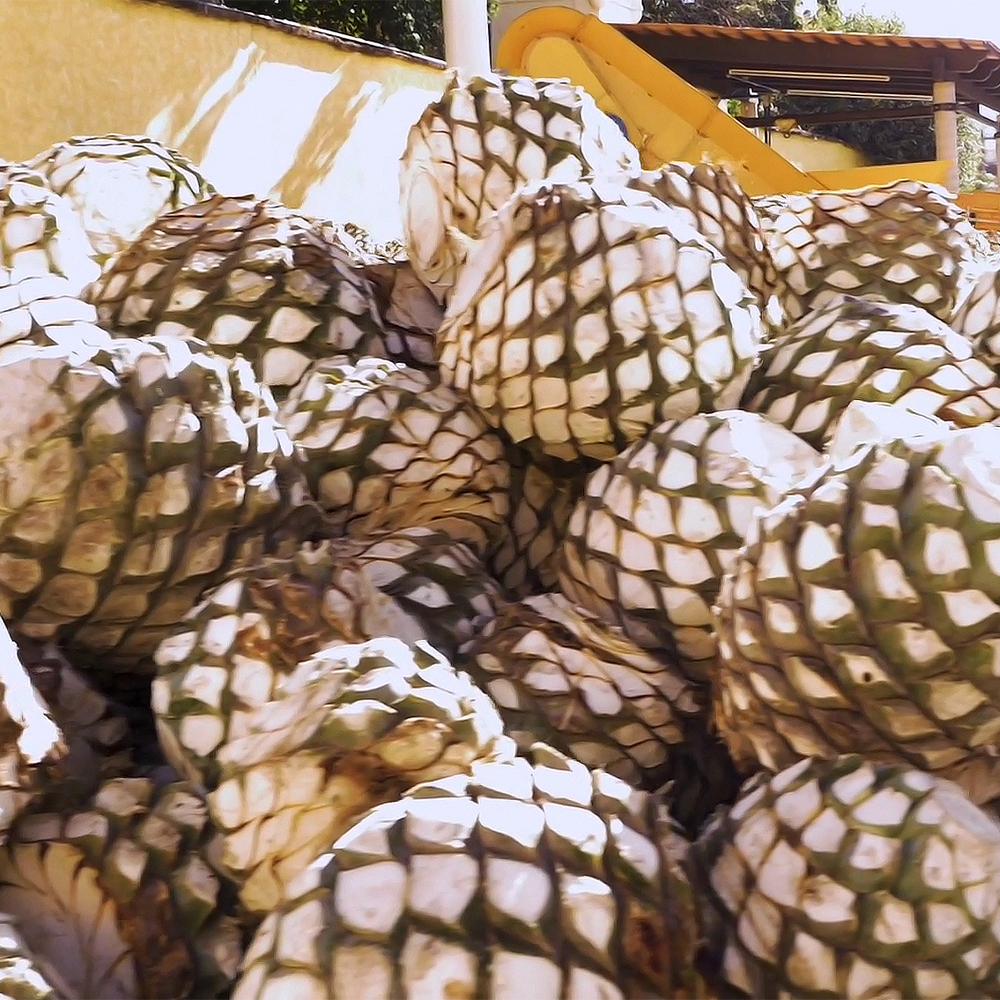
Blue Weber Agave hearts are much harder to come by unless you’re located in specific regions of Mexico. To create a true-to-form tequila, these Agave hearts can be ground up to create a mash to be fermented. For the sake of ease, we’ll be simply using the agave nectar to create a wash for this guide.
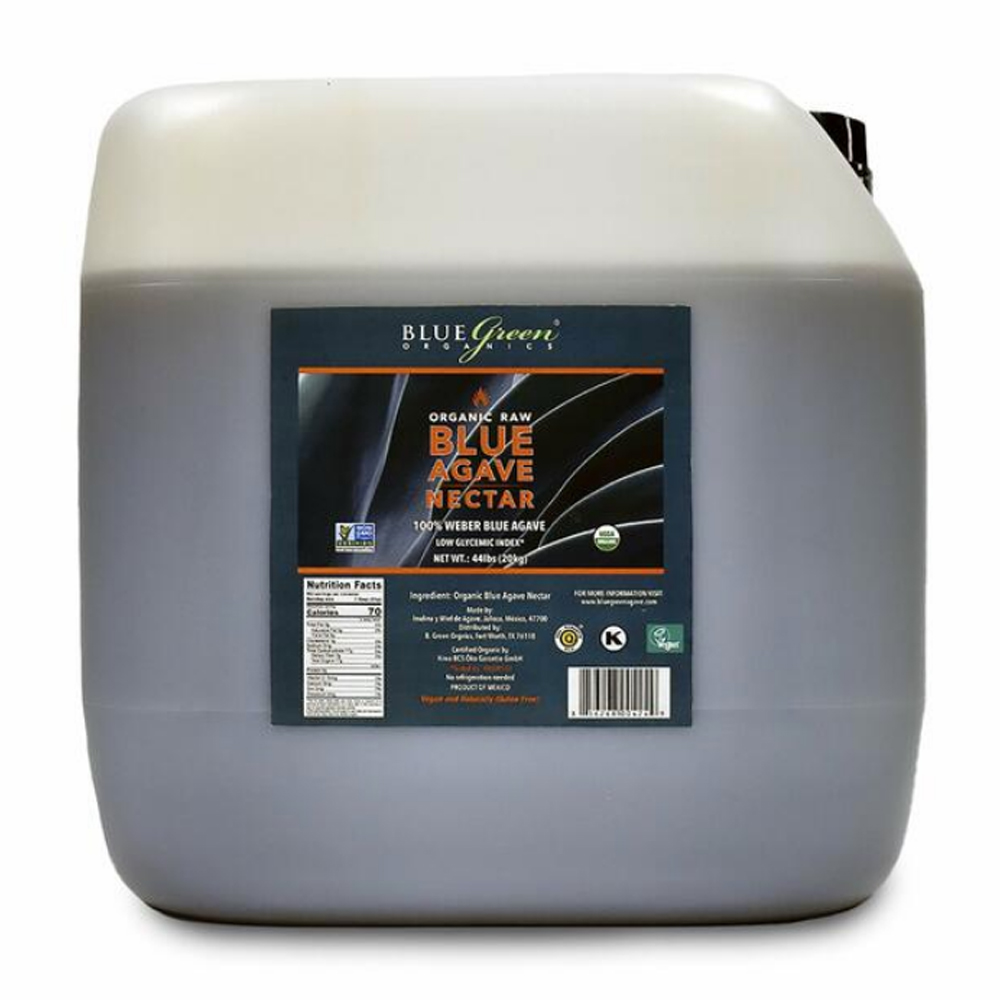
Although being costly, large portions of Blue Weber Agave Nectar can be easily purchased online. This agave nectar contains the correct type of complex carbohydrate, known as inulin. The inulin contained in the agave spirit wash gives tequila its distinct flavor profile after fermentation and distillation.
Cane sugar can also be used as a substitute for 49% or less of the total sugars in the fermentable wash for producing a ‘mixto’ tequila. Using cane sugar to replace a percentage of the agave nectar in your wash will cut down on the overall cost of your tequila run, while still allowing you to create a great-tasting tequila.
How to Make Tequila: Wash Recipe
Base Ingredients & Materials
- 5.5 Gallons of Water
- 12 Cups of Blue Agave Nectar
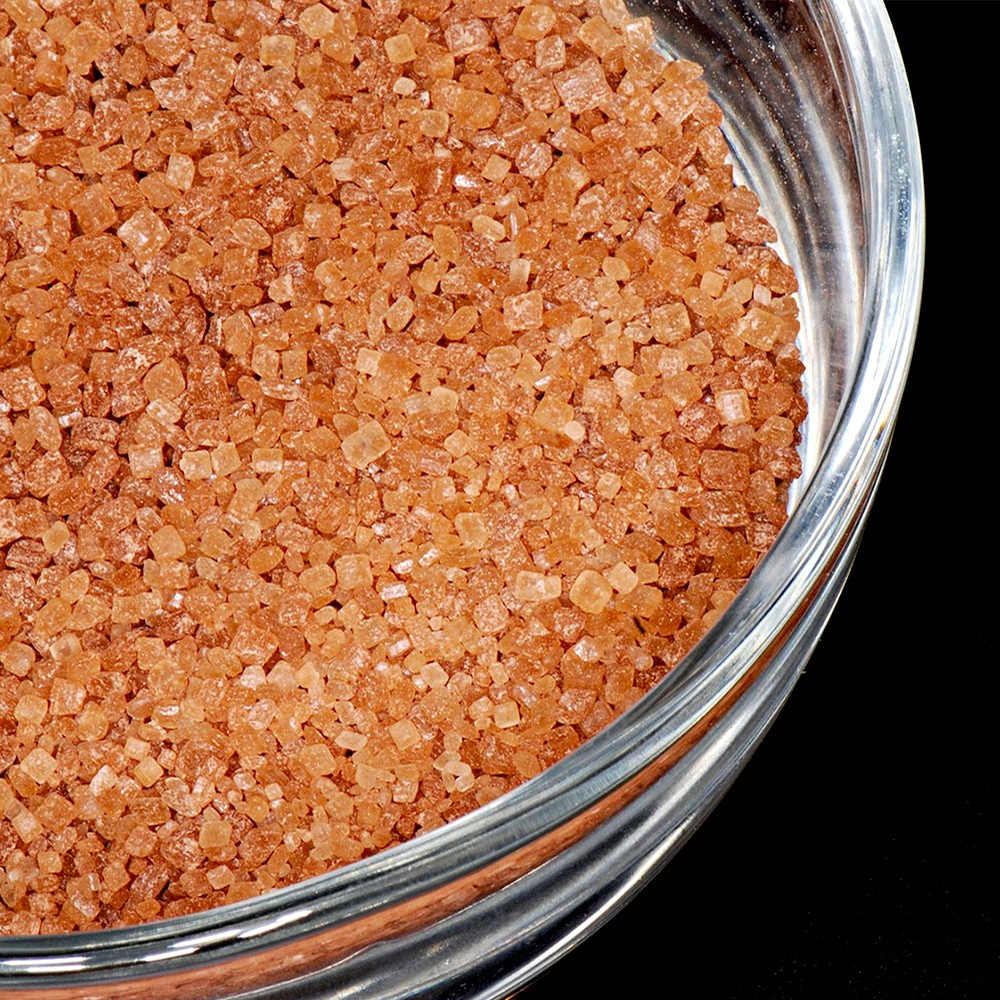
- 2 Pounds of Raw Cane Sugar
- Professional Tequila Active Dry Yeast
- Fermentation Bucket Kit
- Brew Pot
- Heat Source
- Thermometer
- Long Spoon
Agave Nectar/Cane Sugar Wash Procedure
- Place your brew pot on its heat source and pour in 4.5 gallons of water.
- Heat water to 125 °F.
- Stir in Raw Cane Sugar and Agave Nectar and stir with a long spoon until completely dissolved. (you may have to stir for a while to get your agave nectar to fully dissolve)
- Once the Agave Nectar and Cane Sugar are fully dissolved pour in 1 gallon of cold water to bring the temperature of the wash down.
- Check temperature and stir wash for 30 seconds every 5 minutes until the temperature cools to 80 °F. (This process can take several hours on its own, but can be sped up significantly with the use of an immersion cooler.
- When the wash has cooled to 80 °F, add tequila active dry yeast.
- Aerate the wash by dumping it back and forth between two separate containers for 5 minutes.
- Pour the wash into your fermentation bucket. We carry complete fermentation kits for these as well as the materials to produce your own. It is important to have the bucket, cap, and air-lock. A spigot also makes for easier pouring.
- Seal your fermentation bucket with the air-lock and store in a dark place around 75 °F – 80 °F.
Fermenting Your Tequila Wash/Mash
Materials
- Cheese Cloth and/or Easy Siphon
- pH Meter (Advanced)
- Citric Acid
- Hydrometer
Fermentation
Your wash made using a mixture of agave nectar and raw cane sugar will ferment for 5-7 days and when ready, no longer taste sweet or emit gas from the air-lock. The yeast can fully convert all of the sugars to alcohol in the wash.
To test the ABV (alcohol by volume) of your fermentation, you can use a hydrometer. If you’ve never used a hydrometer before, check out our ‘How To Use a Hydrometer‘ guide.
Straining
Once fermentation has completed, we’ll need to completely remove any solid material that may have formed. The solid material left over can lead to headaches if left in the wash. Cheesecloth material is a great option for straining the wash before distillation as is an easy siphon. We carry both of these useful products in our online shop.
(Advanced) Some distillers will test the pH of their wash. The ideal pH is 4.5 to 5.0. Use citric acid to bring the pH down and calcium carbonate to bring it up.
Distilling Your Tequila
Materials
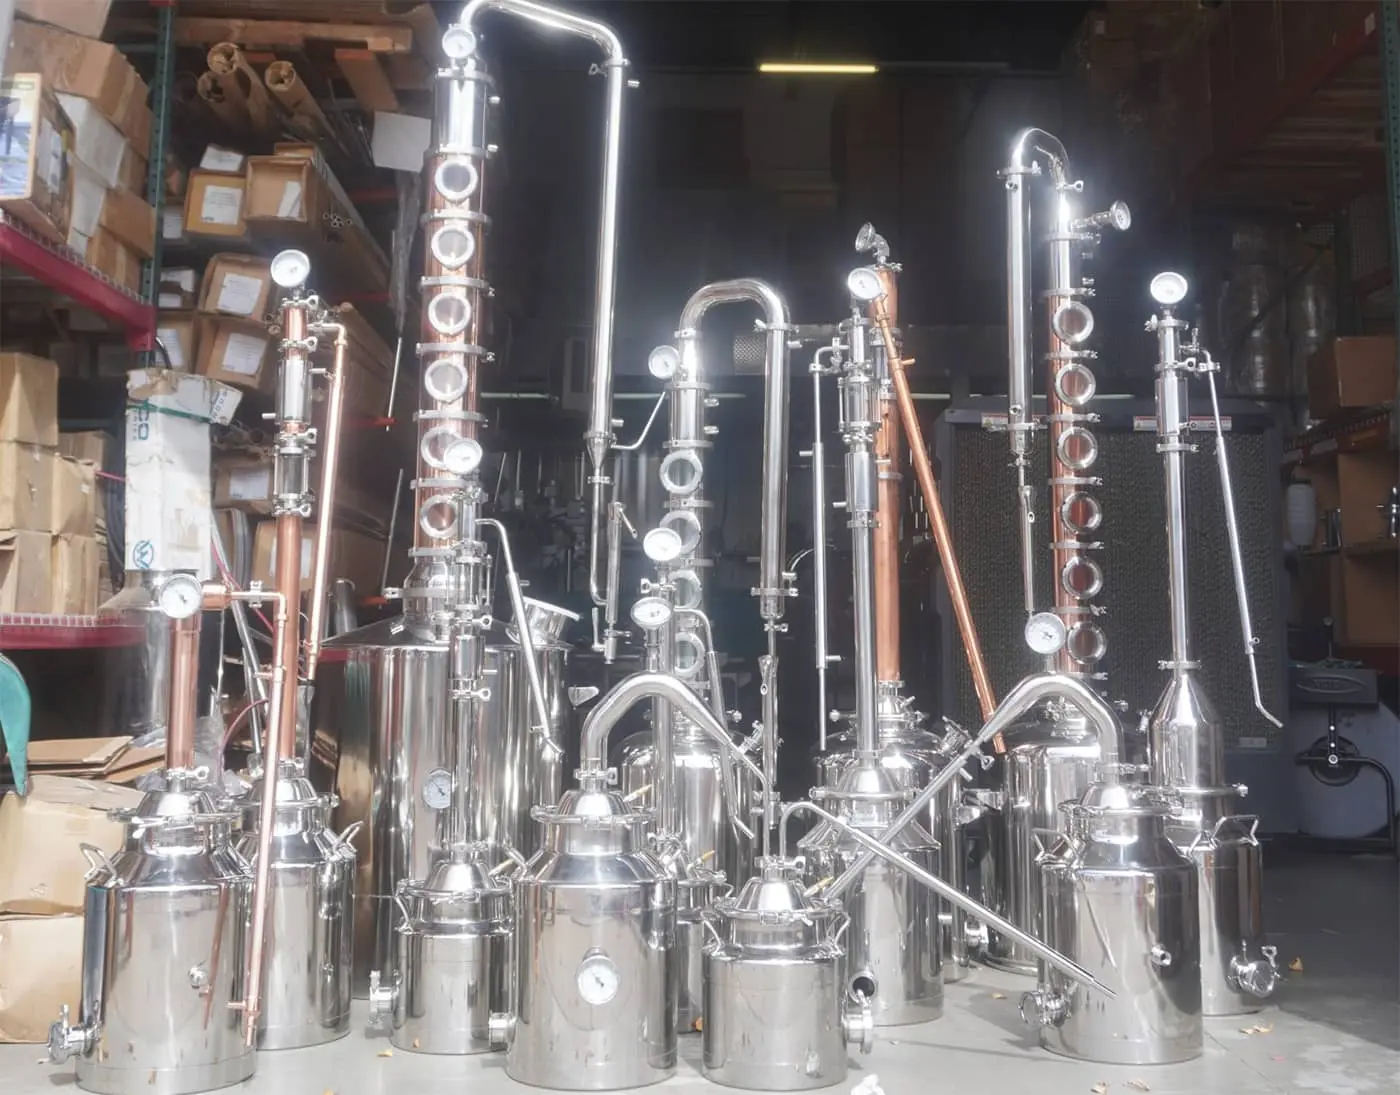
- Pot Still
- Still Burner
- Cleaning Products
- Easy Siphon
- Hydrometer
- Fermented and Strained Tequila/Agave Spirit Wash
If you’ve made it this far, great job! So far you’ve done all of the work necessary to actually produce your fermented agave spirit or tequila wash. Your tequila wash will currently contain some undesirable contents and sediment that you’ll need to separate out and dispose of before distilling. You can utilize either cheesecloth or an easy siphon to remove this sediment. After you’ve removed the undesirable contents from your tequila wash, comes the distillation step of making your own homemade tequila. The process of distilling the fermented agave/cane sugar wash will produce a purer and more concentrated spirit (tequila). This step separates out all of the undesirable types alcohols such as acetaldehyde, acetone and methanol (which can cause blindness if consumed).
Prepping and Cleaning Your Pot Still
Don’t skip this step! We place an emphasis on this step in all of our distilling guides because unfortunately, many people skip prepping/cleaning and it causes a subpar product in the end. If you aim to maximize the quality of your distilled agave spirit, then it’s all about your attention to detail. You’ll want to start on prep work by thoroughly cleaning your still. If this is your first run ever, below is a great walkthrough of how to setup your pot or reflux still.
Even if you cleaned the still after your last run and let it sit for a while, you still will want to clean it again. If you’re just now learning how to make tequila, or any other spirit for that matter, now is the time to really emphasize this so you can build good habits to your distilling routine. Remember practice makes perfect.
Now that your still and equipment have been properly cleaned and prepped, you can pour your agave/tequila wash into the still. We recommend using a siphon for this process. This is the best way to reduce the amount of sediment from your fermented tequila wash getting into the still. Particles and sediments can cause the distillation to burn and ruin your product so take your time and be diligent during this step.
Running Your Pot Still
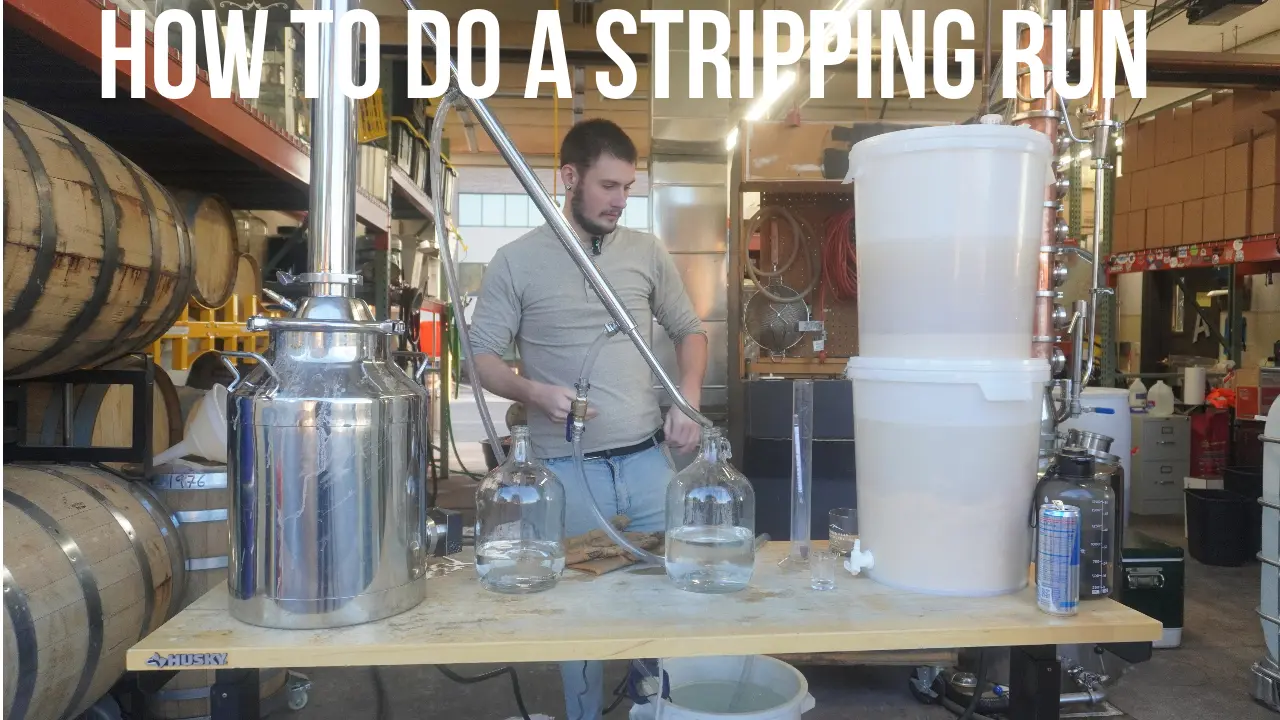
It’s now time to fire up that pot still! Ensure that your still is properly set for this step. Secure all clamps and domes and make sure condensers are properly attached, as well as any hoses. Next, you’ll turn on the heat source and start raising the temperature of your tequila wash. You’ll want to run the tequila wash through two separate distillations. During the first, you’ll collect the entire distillate without separating the heads, hearts and tails. That will be done during the second round of distillation.
If using a condenser, turn on the water when the boiler reaches 130 °F.
At about 168 °F the still will start producing. Increase the temperature to keep producing distillate.
Stop collecting distillate after it measures less than 20% ABV which you can measure using the hydrometer. Be sure to hold on to the remaining contents of the still as you’ll be adding it back in with your second distillation. This will add to the final flavor of the product. Dilute the first round distillate by 20% with water. Stir the mix thoroughly and add back into the still. Begin your second round of distillation.
Collecting Your Tequila Distillate
Next, you’ll be collecting your tequila distillate. This is where all of your hard work up to this point will pay off! It’s definitely the most satisfying part of this entire distilling process. This step is a mixture of art and science. It takes an experienced distiller to get this process dialed in and exactly right. However, don’t let that deter you if you’re a tequila distilling newcomer. You know what they say, “practice makes perfect.” It’s no different here. After you run a few batches with your still, you’ll gain a familiarity with the whole process and be able to really improve by taking notes and making the necessary adjustments.
Foreshots
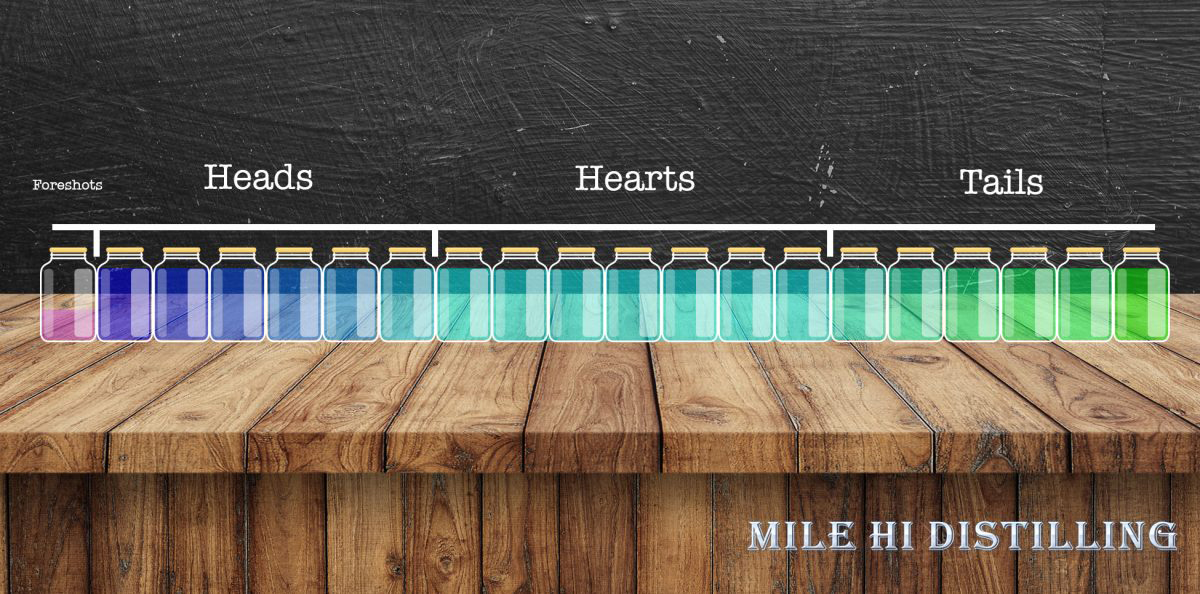
The first 5% of your run will consist of the foreshots. Foreshots contain methanol which is an extremely volatile and toxic alcohol. As a standard practice, always throw out the first 250 ml per 5 gallons as this part of your run will consist of these foreshots.
WARNING* Do not consume this part of your run!
Be sure to isolate the foreshots thoroughly and throw them out. Consuming this alcohol, known as methanol can cause an array of issues with your health, including blindness.
Heads
The next 30% percent of your tequila run is known as the ‘heads.’ Similar to the foreshots, the heads of your run are filled with volatile alcohols that you should not consume. One of the staples of the heads is a particularly volatile alcohol known as acetone.
Acetone is fairly easy to identify, because of its distinct, solvent-like smell. Drinking the heads from your tequila run won’t make you blind but they will leave you with the worst hangover of your life.
Like your foreshots, you’ll want to isolate these and throw them out.
*Note a great way of isolating both the foreshots and heads in your run is to bring your still to around 168 °F and keep it there for around 10 minutes. The alcohol produced during this duration will consist of only foreshots and heads. Once the condenser stops producing at 168 °F, you’ll know that you’ve collected all of the foreshots and heads of the run.
Hearts
The next 30% of your run will be the sweet spot of your tequila run. This portion of your distillate is known as the ‘hearts’ and it’s where you’ll produce a consumable spirit. You’ll want to raise the temperature of your still to 175 °F to 180 °F range to start collecting this portion of your distillate.
At this stage, you’ll notice the solvent smell of acetone taper off and be replaced by a sweet-smelling ethanol. A distiller with lots of experience really shines during this stage of the distillation process. Maximizing high-quality hearts comes with practice. You will recognize the ‘hearts’ portion of your spirit by the sweet and neutral flavor. You should only taste a bit of the distillate on your finger. Not time to break out the shot glasses just yet.
By accurately identifying where the acetone stops and the ethanol begins, you can really maximize the amount of high-quality tequila you’ll be able to produce. The main things to recognize here are the fading of the solvent smell of acetone and the sweet/smooth taste of ethanol getting stronger.
Tails
The last 35% of your tequila run will be the ‘tails’ portion. You can recognize the tails by the sight, smell, and taste. You should see an oily film start to collect on the top of the tequila distillate and be able to smell/taste a type of burnt flavor. The tails contain protein and carbohydrates from the wash that you don’t want in your final product. Some tails have esters and other bi-products that can refine the character of your spirit and can actually add nice flavor to it. Be precise with your cuts and use your smell and taste to see what you like and don’t like in them.
You should hold on to your tails because you can actually re-run them as their own wash in a future run to pull out a bit more product.
Aging Your Tequila
There are quite a few ways to go about aging your tequila. Aging breaks down into three basic windows of time, but there are roughly five different types of tequila. Each of these types has its own look and flavor profiles based on the amount of time the spirit is aged.
Blanco, Silver, or White Tequila
Blanco tequila is a transparent spirit that isn’t necessarily completely colorless and is diluted with water, to the proper bottling ABV. To be considered a Blanco or silver tequila, you can mature or age the spirit in oak barrels for zero to two months. If you age your Blanco tequila for more than two months, it will be considered a Reposado tequila. Which we’ll cover next.
Reposado Tequila
To be considered a ‘Reposado’ or ‘rested’ style tequila, you must age the spirit between two months and one year in an oak barrel. Aging the tequila for this amount of time gives it a caramel-colored tone and a light oak flavor profile. Fun fact, ‘Reposado’ actually translates to ‘rested.’ Most Reposado tequilas are labeled as ‘aged’ on the bottle.
Añejo Tequila
To be considered an ‘Añejo’ or ‘old’ tequila, you must age the spirit from one to three years in an oak barrel. This will produce a dark-colored and very robust flavor profile depending on how long you allow the spirit to age. Most Añejo tequilas are labeled as ‘extra-aged’ on the bottle.
Extra-Añejo Tequila
Extra-añejo or muy añejo tequilas must be aged for at least three years in an oak barrel to be considered as such. It’s not uncommon for extra-añejo tequilas to be aged for over four years. Compared to Blanco, Reposado, and Añejo tequilas, this type of tequila is very rare and expensive. Extra-Añejo tequilas are labeled as ‘ultra-aged’ on the bottle.
Joven or Gold Tequila
Joven or gold tequila is unaged tequila that is typically colored and flavored with caramel, oak extracts, or syrups. Basically, you can use a Blanco tequila and add in an extract to achieve the gold or caramel coloring. Gold tequilas look very similar to Reposado tequilas. There are simply labeled as ‘Gold’ on the bottle.
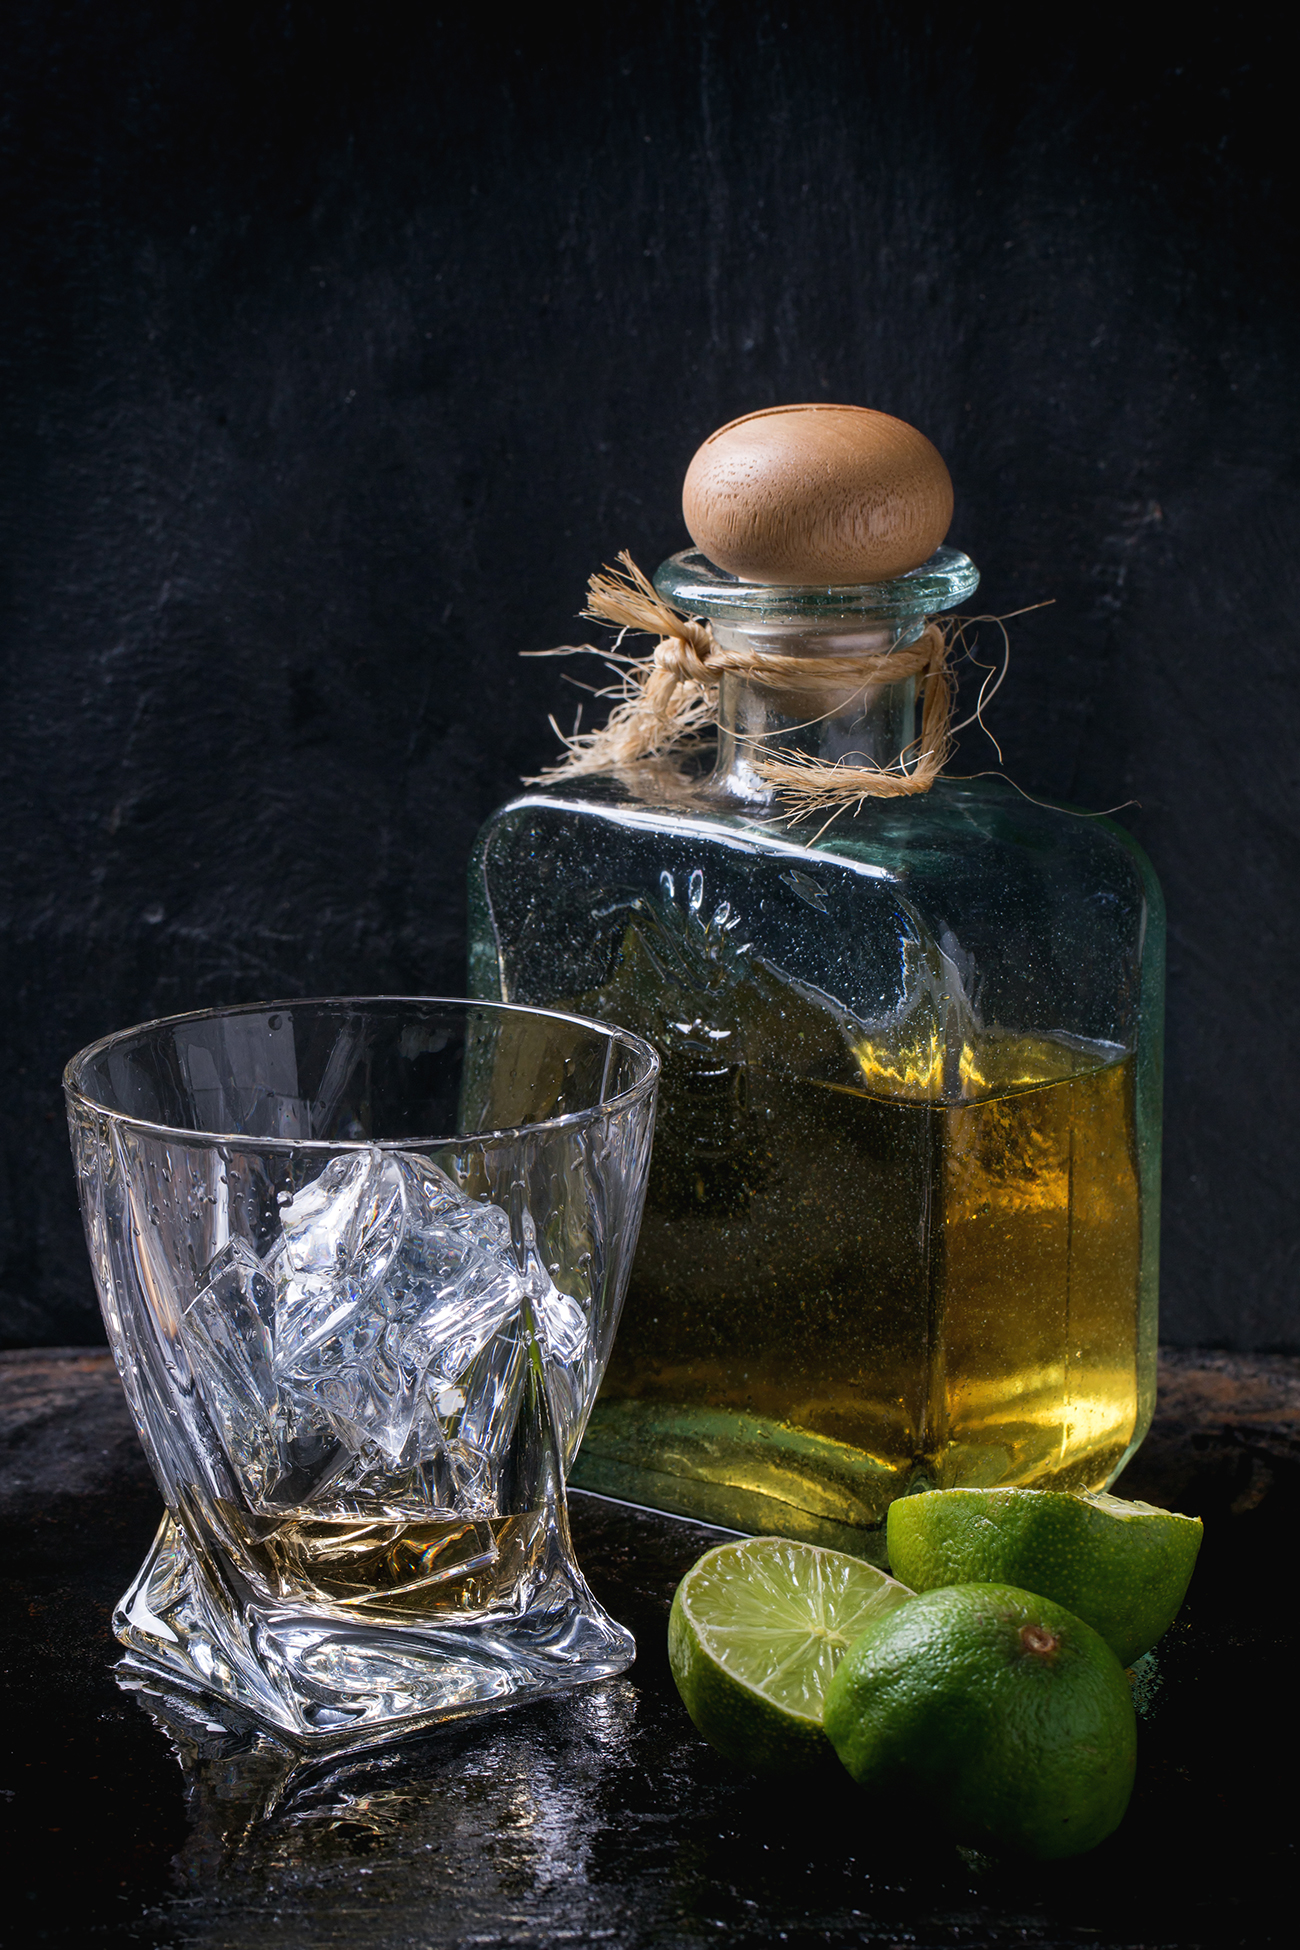
After you age your tequila how you like it (whether Blanco, Reposado, or Añejo), bottle it up, grab some limes and enjoy. You earned it!
Conclusion
And there you have it! You have just made your own batch of homemade tequila. We hope this guide was helpful for you and you churned out a top-shelf spirit. It’s very important to not skip the cleanup step. Be sure to wash all of your equipment thoroughly to ensure that you can produce a high-quality product in the future. Disassemble your still and store it in a cool, dry location.
Thank you for visiting Mile Hi Distilling, your one-stop-shop for all of your distilling needs. Don’t forget to check out our shop for any supplies or equipment you may need for any future distillations. We hope you enjoyed learning how to make tequila using this guide.
If you enjoyed this guide on how to make tequila, check out our other guides on how to make rye whiskey and how to make brandy.
Let us know what you thought of this guide by leaving a comment or a star rating below.[kkstarratings]


Hi, I don’t understand why you would do a stripping run, dilute that distillate, then add it back to all of the dunder (?) left in the still to run again. Aren’t you just back at a slightly more diluted version of your original wash? Why bother doing the strip in the first place? Surely you would only retain a small percentage of the dunder and add that to your diluted strip for the spirit run?
The point of the stripping run is to get the flavor out. I get the flavor of the spirit, then because I did a stripping run and have a ton more volume than I would if I did just a regular run, I can throw it back the in boiler with all the flavor intact and smooth it out.
Normally you do a stripping run, discard whatever is left in your boiler (that is the point of a stripping run as you say – to extract the alcohol and flavours from the wash – what’s left is generally undesirable by-product), then dilute the distillate and run that back through the still to establish your cuts during the second spirit run. Perhaps adding some of your backset to the spirit run would be usual, but diluting your strip 20% with water and adding it back to you boiler into all of what you’ve just extracted it from?
“Be sure to hold on to the remaining contents of the still as you’ll be adding it back in with your second distillation. This will add to the final flavor of the product. Dilute the first round distillate by 20% with water. Stir the mix thoroughly and add back into the still. Begin your second round of distillation.”
What has this first stripping run achieved if you now have a boiler with exactly what you started with in it plus some extra water? If anything, you now have a wash with slightly less ABV than you started with in the first place.
My previous reply seems to have gone missing. I understand the point of a stripping run. What I do not understand is why this recipe (and the brandy and rum recipes) calls for you to add your strip back into everything in the boiler that you just stripped it out of. I can’t see what the point of the stripping run was for in that case. Surely you only add a small proportion of your backset to the strip to enhance the flavor?
I’m sorry, I’m not quite sure what you mean. By “the strip” are you talking about the feints? Like the bitter part of the tails and heads and such?
No, I mean the volume of liquid you extract during that first “stripping” run, which is everything down to the 20% ABV quoted in your method. The “first round distillate”.
You are doing a double distillation. Normally you don’t distil everything twice. You distill once to extract the alcohol plus some flavours, then only distil that extract again to make your cuts.
Rough example. I have a 20 liter wash. I do a stripping run, which results in 5 liters of extracted alcoholic liquor, leaving 15 liters remaining in the boiler. (There’s not I know, this is a very basic example).
Normally, you would discard that remaining 15 liters left in the boiler, dilute your 5 liters of strip, and run your diluted 5 liter stripping run through the still as a spirit run, taking cuts etc. This would mean that you start your spirit run with only your diluted strip in the boiler.
Your instructions here say to dilute the stripping run 20%, and add it back to all the liquid that still remains in your boiler and then do a spirit run.
So, in my example, you would be adding the 6 liters of diluted strip back to the 15 liters of backset (?) left in the boiler after your first run, then doing a 2nd spirit run from the now 21 liters of liquid in there, which was more than you started with initially, and contains everything you started with plus the 20% extra water added to your initial stripping run product.
It’s as if you hadn’t done the stripping run in the first place. That’s why I find this confusing.
I understand now, thanks for the clarification! You are completely correct, this article is not worded correctly. This article was made by an older employee who’s no longer here and maybe didn’t have the best grasp of stripping and spirit runs. Apologies for the misinformation on our side.
Question… just did the second distillation, everything looks good. Got my splits separated into pint size jars, mostly 160- 150 proof before it dropped near the end of the run. Ive seen it mentioned that the heads should be disposed of… couldn’t I put them back in a clean still, bring the temp up to 155-160 and drive off the acetone leaving just ethanol?
Question… just did the second distillation, everything looks good. Got my splits separated into pint size jars, mostly 160- 150 proof before it dropped near the end of the run. Ive seen it mentioned that the heads should be disposed of… couldn’t I put them back in a clean still, bring the temp up to 155-160 and drive off the acetone leaving just ethanol?
Curious… others have reported fermentation of agave can be quite difficult… stalled, incomplete fermentations with the need to carefully regulate pH and temperature (+/- 90 degrees), and SG must be below 1.07. Can anyone comment on this?
A second question… 35% lost to foreshots and heads? I’ve just prepared my first tequila wash and will run this through a 10 gallon still w/ thumper in a couple weeks.
In the last month, I have successfully fermented batches of agave mash with no issues. I did take a few precautionary steps and followed my procedures like a robot, but no issues with stalling or incomplete fermentation. Quite easy and non-problematic. What I did…
I installed inexpensive fish tank heaters ($20 ea) through the lids of my 5 gallon fermentation buckets and kept the temp at 88 degrees throughout the fermentation process.
Day 1. Mash was made with raw agave nectar and water, though I did add some standard cane sugar to get the specific gravity up to 1.07. In total, 11 cups agave nectar, 5 cups sugar, and 4.5g water make up the mash bill. Water was spring water purchased at the grocery store
Yeast was Stardady (8g/ 5 gallon), and yeast nutrient at 42g/ 5 gallon.
Mix, aerate by transferring back and forth between pails at least 15-20 times.
Day 2 of fermentation, I measured the pH which was dropping like a rock. I added 18g / 5 gallon sodium bicarbonate and resealed the pail.
Day 4 of fermentation, pH dropping again… added 5g sodium bicarbonate and 20g yeast nutrient.
Day 7, still fermenting but slowing. No further actions req’d but to wait, filter, and distill.
Hope this helps, a lot easier than people lead you to believe ?
Great reply, Jim! Very informative!
I’ve fermented (10) five gallon batches in this exact way… complete fermentation each time without any difficulty. A lot easier than I was lead to believe. My thoughts, controlling the acidity, adding nutrient, and keeping the temp at 88 degrees throughout the cycle are key.
On to second distillation and aging… Can’t wait!
I have followed the recipe exactly. But the “tequila” doesn’t taste like regular tequila. More like just ordinary shine..
Suggestions
It’s being aged in oak barrel and tastes like whiskey.
Hi Ray, what agave source did you use? The agave nectar you find in grocery stores is very pure and most of the flavor producing compounds are stripped out. Very sweet, high sugar content, but no flavor. I did a bit of research and found you need to start with unrefined, pure blue agave (its actually black colored). I’m fermenting my first batch now, one word of caution, you’ll want to ferment this stuff outside in a garage – stinks FAR MORE than any other bourbon mash I’ve made.
How would I do this in a T500?
Hey, Ray. I can’t really think of any ways this would be any different with the T500 than any other still.
Thanks,
Mile Hi
How would I do this in a T500?
Hey, Ray. I can’t really think of any ways this would be any different with the T500 than any other still.
Thanks,
Mile Hi
Can / should or should I not use collected methanol or acetone to clean my still?
Can / should or should I not use collected methanol or acetone to clean my still?