Last Updated on September 19, 2025
These days with the pandemic going on, making sure that both your hands and home are clean is more important than ever. As a result, alcohol that is strong enough to be used as a disinfectant is becoming a very valuable resource to keep in your house.
*** According to a March 26, 2020 public guidance memo, the TTB (Alcohol and Tobacco Tax and Trade Bureau) is temporarily waiving certain formula approvals for the manufacture of hand sanitizer and expediting certain permit requirements. ***
For this guide, we’re going to walk you through, step-by-step how to make alcohol at home that is +60% ABV from scratch. If performed correctly, you’ll be able to use the alcohol from this batch to make your own homemade hand sanitizer. Don’t worry if you’re a beginner, because all of the supplies you’ll need for distilling your own homemade alcohol can be found in our shop.
At Mile Hi Distilling, we love helping people who are passionate about spirits with helpful guides, top quality moonshine still kits, distilling equipment and supplies. Learning how to make a batch of homemade alcohol to be used as a cleaning product requires a lot of attention to detail. So be sure to plan thoroughly and execute carefully during each of the following steps.
Browse By Step. Click on any of these links to jump to the step you want to see:
Step 1: Picking Your Wash Ingredients
Step 2: Alcohol Wash Recipe
Step 3: Fermenting Your Alcohol Wash
Step 4: Distilling Alcohol
Step 5: Collecting Your Alcohol Distillate
Conclusion
Step 1: Picking Your Wash Ingredients
Normally, we’d use ingredients such as corn, wheat, molasses and other sugar sources in our wash recipe to give the end product spirit a defined flavor profile to be enjoyed. However, for this how-to guide, we’re going to keep the wash ingredients pretty simple, since our goal is to create alcohol that will be used as a cleaning agent and not something to be consumed.
For this alcohol wash, we’re going to use simple table sugar. The type of moonshine that is made using this wash is known as a ‘Sugar Shine.’ Sugar washes are great for learning to make your own alcohol, because they’re very easy to prepare and also yield a good amount of clear, neutral alcohol that can be used as a fuel or cleaning solution.
How to Make Alcohol: Sugar Shine Wash Recipe
Base Ingredients & Materials
- 5.5 Gallons of Distilled Water
- 18 Pounds of Raw Cane Sugar
- Turbo Yeast
- Brew Pot
- Heat Source
- Thermometer
- Long Spoon
Before you start the sugar wash procedure below, be sure to thoroughly clean and sanitize all of your brewing/distilling equipment. You can find all of the cleaning equipment you’ll ever need at our store.
Sugar Wash Procedure
- After sanitizing, your brew pot, place it on a heat source and pour in 5.5 gallons of water.
- Heat the water to 125 °F.
- Stir in Raw Cane Sugar and stir with your long spoon until the sugar is completely dissolved. (you may have to stir for a while to get the sugar to fully dissolve into the water)
- Once the sugar is fully dissolved, pour in 1 gallon of cold water to bring the temperature of the wash down.
- Check temperature and stir your wash for 30 seconds every 5 minutes until the temperature cools to 80 °F. (This process can take several hours on its own, but can be sped up significantly with the use of an immersion cooler.
- When the wash has cooled to 80 °F, add the turbo yeast into your mix.
- Aerate the wash by dumping it back and forth between two separate containers for 5 minutes.
- Pour the wash into your fermentation bucket. We carry complete fermentation kits for these as well as the materials to produce your own. It is important to have the bucket, cap, and air-lock. A spigot also makes for easier pouring.
- Seal your fermentation bucket with the air-lock and store in a dry and dark place around 75 °F – 80 °F.
We’ll cover the fermentation steps in the next section below.
Fermenting Your Alcohol Sugar Wash
Materials
- Clearing Agent
- Cheese Cloth
- Easy Siphon
- pH Meter (Advanced)
- Calcium Carbonate (Advanced)
- Citric Acid (Advanced)
Fermentation
A wash made purely with raw cane sugar will need to ferment for 3-7 days and when ready, should no longer taste sweet or emit gas from the air-lock. The yeast will fully convert all of the added sugars to alcohol in the wash during this time period. You’ll know that the fermentation is complete when there is no gas coming out of the air-lock in your bucket kit.
After 3-7 days, open your fermentation bucket and stir in the clearing agent. A clearing agent is used to clear the wash of any leftover yeast cells or unwanted solids. Within 24 hours over 90% of these unwanted compounds are pulled to the bottom of the wash. Note, that if yeast cells are not removed they will break open during boiling, releasing off-flavors and aromas into the distillation process and reducing distillate quality. It usually takes less than 24hrs to completely clear the fermentation.
Straining
Once fermentation is completed and the added clearing agent has finished, we’ll need to leave behind any solid material that is leftover. The unwanted solid materials can lead to headaches if left in the wash and distilled. A cheesecloth is a great option for straining the wash before distillation. You can also use an easy siphon for transferring all of the usable wash, while leaving the unwanted sediment behind to be disposed of.
(Advanced) Some distillers will test the pH of their wash. The ideal pH is 4.5 to 5.0. Use citric acid to bring the pH down and calcium carbonate to bring it up.
Distilling Your Alcohol Sugar Wash
Materials
- Pot Still
- Still Burner
- Cleaning Products
- Easy Siphon
- Hydrometer
- Fermented and Strained Sugar Wash
Congrats! You have now produced your sugar wash into alcohol. The next step will be to distill that alcohol wash into a much purer and concentrated spirit that can be used as a fuel or cleaning agent. Currently, your alcohol contains some undesirable contents that you’ll need to separate out and dispose of.
During this step, you’ll be separating out all of the undesirable chemicals such as acetone, acetaldehyde, and methanol (which can actually cause blindness if consumed).
Prepping and Cleaning Your Still
Don’t skip this step! Unfortunately, many people do and it causes a subpar product in the end. If your goal is to maximize the quality of your distilled spirit, then it’s all about attention to detail. Like we mentioned before you’ll want to start on prep-work by cleaning all of your equipment including your still. If this is your first run ever, below is a great walkthrough of how to setup your pot or reflux still. Mike also covers the best way to clean your still before running it.
Even if you’ve cleaned the still after your last run and let it sit for a while, you will want to clean it again. If this is your first time making alcohol at home, then now is the time to really emphasize good cleaning habits into your distilling routine.
Next, you’ll add your fermented sugar wash into the still. We recommend using a siphon for this process. This is the best way to reduce the amount of sediment from your fermented sugar wash getting into the still. Particles and sediments can cause the distillation to burn and ruin your product, so be diligent in this step.
Running Your Still
Before you start, double-check that your still is properly set for this step. Secure all clamps and domes and make sure condensers are properly attached, as well as any hoses. Once you’ve verified the secure connections, it’s showtime! Fire up that still! Turn on the heat source and start raising the temperature of your sugar wash.
You’re going to run the sugar wash through two separate distillations. During the first run, you will collect the entire distillate without separating anything. During the second run, you will separate the heads, hearts, and tails. We’ll explain that in the next few steps.
If using a condenser, turn on the water when the boiler reaches 130 °F.
At about 168 °F the still will start producing. Increase the temperature to keep producing distillate.
Stop collecting distillate after it measures less than 20% ABV which you can measure using the hydrometer. Be sure to hold on to the remaining contents of the still as you’ll be adding it back in with your second distillation. Also, be certain to dilute the first round distillate by 20% with water. Stir the mix thoroughly and add back into the still. Begin your second round of distillation.
Collecting Your Alcohol Distillate
Collecting the distillate is the most challenging part of this entire process. But hey, you’ve made it this far! By using a mix of art and science, you can get this process dialed in just right. If you’re a newcomer to distilling don’t worry. After you run a few batches with your still you’ll definitely get a feel for it. By paying close attention and taking detailed notes you’ll be able to improve fairly quickly.

Foreshots
You should only use this alcohol as fuel or cleaner. Do not consume this part of your run!
The first 5% or so of your run will consist of the foreshots. This 5% contains methanol. Generally, as a standard practice, you would throw out the first 250 ml per 5 gallons as this part of your run will consist of these foreshots. However, since we’ll be using this alcohol as a sanitizer/disinfectant product instead of a consumable spirit, you should keep them.
The alcohols found in the foreshots and heads work great as strong cleaning agents, fire starters, de-greasers, and solvents. Again, DO NOT consume these because they are toxic and will poison you and/or make you blind.
Heads
Next, comes the part of the distillate known as the heads. The heads make up 30% percent of your alcohol run. As mentioned above, you will find lots of different volatile alcohols in the heads of your run. One of the particularly volatile staples of the heads is known as Acetone.
Acetone has a very distinct and solvent-like smell, making its identification pretty easy to recognize. Just like the foreshots, you’ll want to isolate these and use them as strong household cleaning agents and solvents. These are NOT for using on your skin.
*Note a great way of isolating both the foreshots and heads in your run is to bring your still to around 168 °F and keep it there for around 10 minutes. The alcohol produced during this duration will consist of only foreshots and heads. Once the condenser stops producing at 168 °F, you’ll know that you’ve collected all of the more volatile alcohols that make up the foreshots and heads of the run.
Hearts
The next 30% of your run will be the sweet spot of your alcohol run, known as the hearts. You’ll want to raise the temperature of your still to 175 °F to 180 °F range to start collecting this portion of your distillate.
As you get into the hearts portion of your run, you should notice that the solvent smell of acetone tapers off and is replaced with a sweet-smelling ethanol alcohol. This is where practice makes perfect. In order to maximize high-quality hearts, you’ll need to focus. You should be able to recognize the hearts by their sweet and neutral flavor. Taste just a bit of the distillate on your finger. The main giveaway is the sweet/smooth taste of ethanol.
If you can identify where the acetone stops and the ethanol alcohols begin, you will be able to maximize the total amount of viable alcohol that you can use as sanitizer or disinfectant.
Tails
The last 35% of your alcohol run is made up of the tails. You can recognize the tails by sight, smell, and taste. You’ll see an oily film start to collect on the top of the distillate and be able to smell/taste a burnt type of flavor. The tails contain protein and carbohydrates from the wash that you don’t want in your final product.
Be sure to hold on to your tails because you can run them again as their own wash in the future to pull out a bit more useful product.
Bottling Your Homemade Alcohol
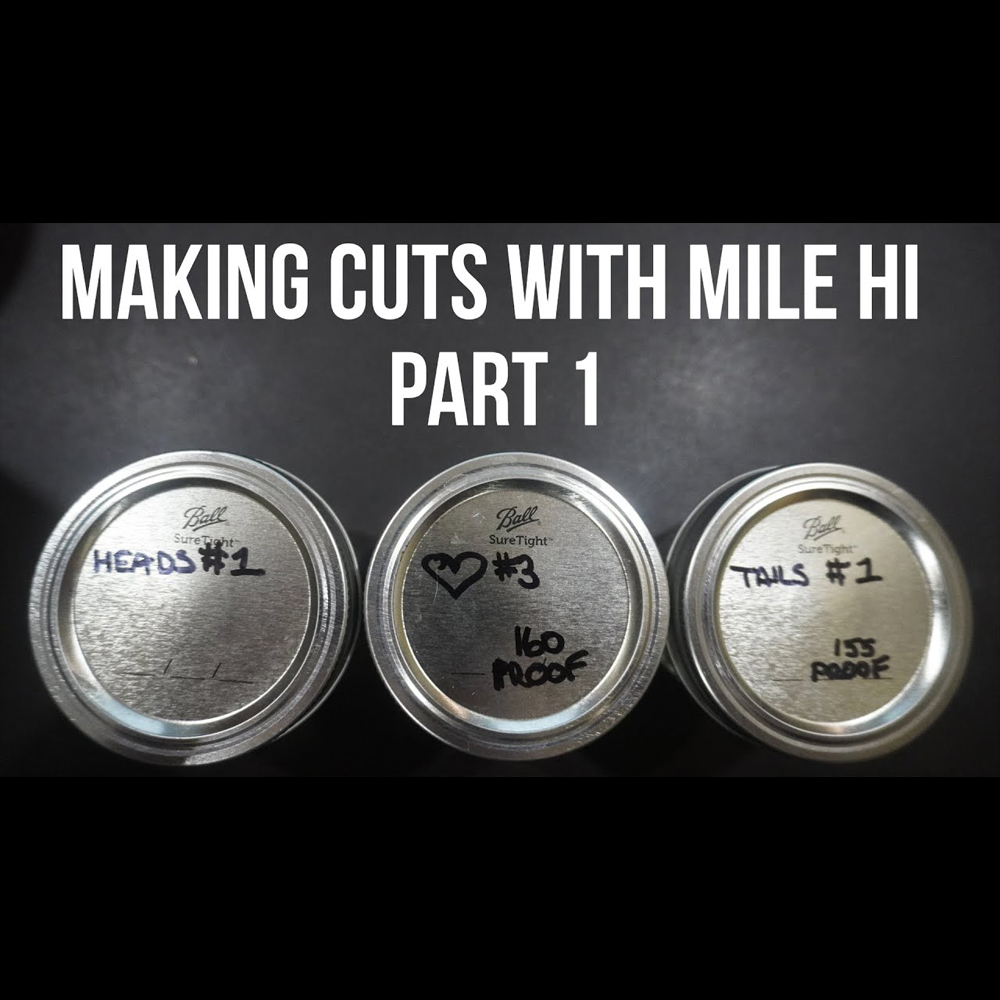
As you collect your alcohol distillate it’s very important that you keep the different sections separated. The foreshots and heads should never be consumed but are very useful as strong cleaners and solvents. You should store these in glass jars and clearly label them as cleaning products to avoid anyone from accidentally consuming them. Note that these alcohols can eventually dry out plastic containers so you should only use glass containers.
You can use the hearts portion of your distillate (ethanol alcohols) as a spray disinfectant and hand sanitizer. We’ve created a guide on ‘How To Make Hand Sanitizer At Home‘ that you can check out. You can store the ethanol alcohol in clearly labeled mason jars as well. Once you’re ready to make your own hand sanitizer, you can use plastic spray bottles and squeezable bottles for this portion of your distillate.
Conclusion
You made it to the end! If you followed all of the steps closely, you just made your own batch of homemade alcohol. We hope this guide was helpful for you and you created a useful alcohol cleaner/disinfectant product.
Be sure to wash and sanitize all of your distilling equipment thoroughly to ensure high-quality product runs in the future. Disassemble your still and store it in a cool, dry place until your next run.
Thank you for visiting Mile Hi Distilling. We love being your one-stop-shop for all of your distilling needs. Don’t forget to check out our shop for any supplies or equipment you may need for any future distillations. We hope you enjoyed learning how to make alcohol with a raw cane sugar wash.
If you enjoyed this guide on how to make alcohol, check out our other guides on how to make moonshine and how to make vodka.
Let us know what you thought of this guide by leaving a comment or a star rating below.
Leave A Comment
You must be logged in to post a comment.